Microsoft Word is a word processing application that allows you to create a variety of documents, including letters, resumes, and more. In this lesson, you'll learn how to navigate the Word interface and become familiar with some of its
most important features, such as the Ribbon, Quick Access Toolbar, and Backstage view.
Watch the video below to become more familiar with Word 2016.
Getting to know Word 2016
Word 2016 is similar to Word 2013 and Word 2010. If you've previously used either version, then Word 2016 should feel familiar. But if
you are new to Word or have more experience with older versions, you should first take some time to become familiar with the Word 2016
interface.
The Word interface
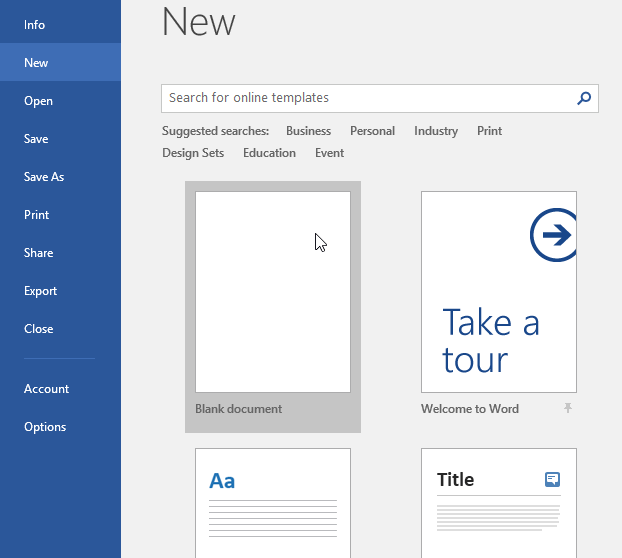
When you open Word for the first time, the Start Screen will appear. From here, you'll be able to create a new document, choose a template, and access your recently edited
documents. From the Start Screen, locate and select Blank document to access
the Word interface.
Working
with the Word environment
Like other recent versions, Word 2016 continues to use features like the Ribbon and the Quick
Access Toolbar—where you will find commands to perform common tasks in Word—as well as Backstage view.
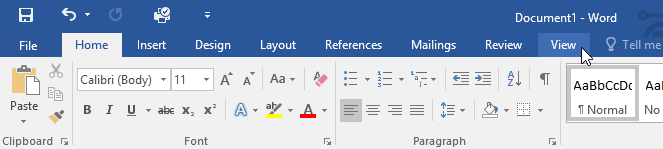
The Ribbon
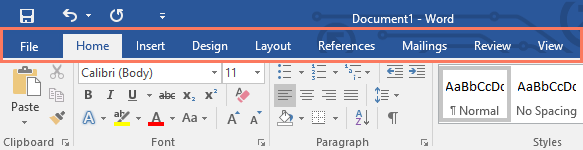
Word uses a tabbed Ribbon system instead of traditional menus. The Ribbon contains multiple tabs, which you can find near the top of the Word window.
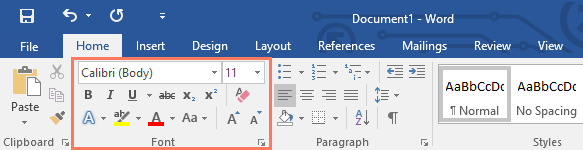
Each tab contains several groups of related commands. For example, the Font group on the Home tab contains commands for formatting text
in your document.
Some groups also have a small arrow in the bottom-right corner that you can click for even more options.
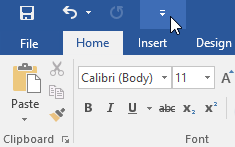
Showing and hiding the Ribbon
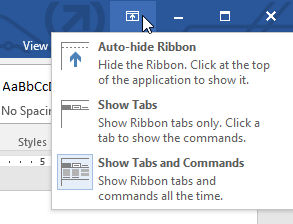
If you find that the Ribbon takes up too much screen space, you can hide it. To do this, click the Ribbon Display Options arrow in
the upper-right corner of the Ribbon, then select the desiredoption from the drop-down menu:
Auto-hide Ribbon: Auto-hide displays your document in full-screen mode and completely hides the Ribbon from view. To show the Ribbon, click
the Expand Ribbon command at the top of screen.
Show Tabs: This option hides all command groups when they're not in use, but tabs will remain visible. To show the Ribbon, simply click a
tab.
Show Tabs and Commands: This option maximizes the Ribbon. All of the tabs and commands will be visible. This option is selected by
default when you open Word for the first time.
To learn how to add custom tabs and commands to the Ribbon, review our Extra
on Customizing
the Ribbon.
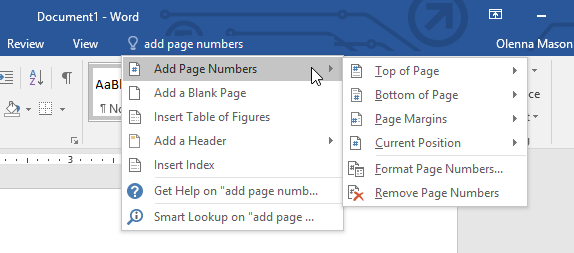
Using the Tell me feature
If you're having trouble finding command you want, the Tell Me feature can help. It works just like a regular search bar: Type
what you're looking for, and a list of options will appear. You can then use the command directly from the menu without having to find it on the Ribbon.
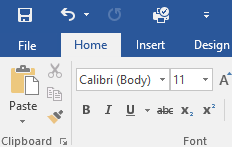
The Quick Access Toolbar
Located just above the Ribbon, the Quick Access Toolbar lets you access common commands no matter which tab is selected. By
default, it shows the Save, Undo, and Redo commands, but you can add other commands depending on your needs.
To add commands to the Quick Access Toolbar:
Click the drop-down arrow to the right of the Quick Access Toolbar.
Select the command you want to add from the menu.
The command will be added to the Quick Access Toolbar.
The Ruler
The Ruler is located at the top and to the left of your document. It makes it easier
to adjust your document with precision. If you want, you can hide the Ruler to create more screen space.
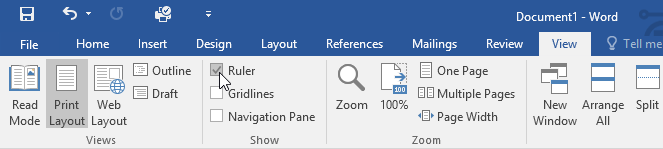
To show or hide the Ruler:
Click the View tab.
Click the checkbox next to Ruler to show or hide the Ruler.
Backstage view
Backstage view gives you various options for saving, opening a file, printing, and sharing your document. To access Backstage view,
click the File tab on the Ribbon.
Document
views and zooming
Word has a variety of viewing options that change how your document is displayed. You can choose to view your document in Read
Mode, Print Layout, or Web Layout. These views can be useful for various tasks,
especially if you're planning to print the document. You can also zoom in and
out to make your document easier to read.
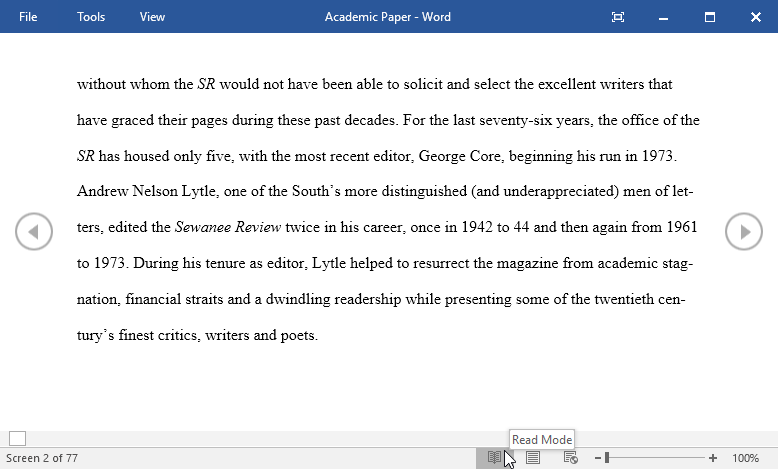
Switching document views
Switching between different document views is easy. Just locate and select the desired document view command in the bottom-right
corner of the Word window.
Read Mode: This view opens the document to a full screen. This view is great for reading large amounts of text or simply reviewing your
work.
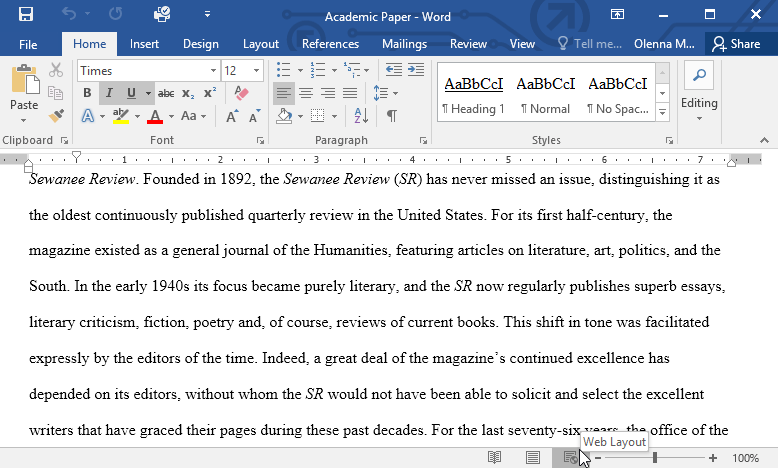
Print Layout: This is the default document view in Word. It shows what the document will look like on the printed page.
Web Layout: This view displays the document as a webpage, which can be helpful if you're using Word to publish content online.
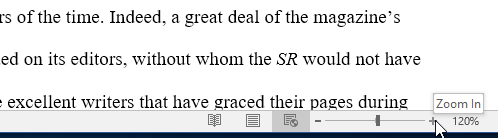
Zooming in and out
To zoom in or out, click and drag the zoom control slider in the bottom-right corner of the Word window. You can also select
the + or -commands to zoom in or out
by smaller increments. The number next to the slider displays the current zoom percentage, also called the zoom level.
Challenge!
Open Word 2016, and create a blank document.
Change the Ribbon Display Options to Show Tabs.
Using Customize Quick Access Toolbar, add New, Quick
Print, and Spelling & Grammar.
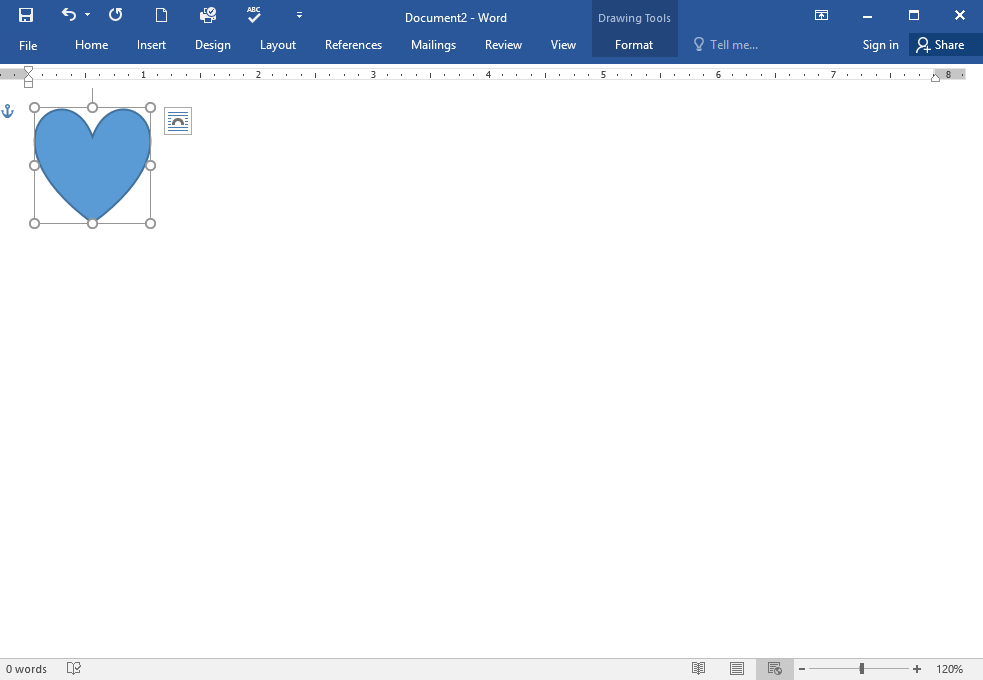
In the Tell me bar, type Shape and press Enter.
Choose a shape from the menu, and double-click somewhere on your document.
Show the Ruler if it is not already visible.
Zoom the document to 120%.
Change the Document view to Web Layout.
When you're finished, your document should look something like this:
Change the Ribbon Display Options back to Show Tabs and Commands, and change
the Document View back to Print Layout.
Lesson 2: Understanding OneDrive
Introduction
Many of the features in Office are geared toward saving and sharing files online. OneDrive is Microsoft’s online storage space
that you can use to save, edit, and share your documents and other files. You can access OneDrive from your computer, smartphone, or any of the devices you use.
To get started with OneDrive, all you need to do is set up a free Microsoft account, if you don’t already have one.
If you don't already have a Microsoft account, you can go to the Creating
a Microsoft Account lesson in our Microsoft Account tutorial.
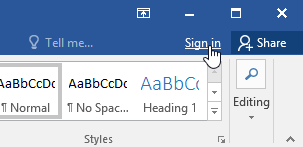
Once you have a Microsoft account, you'll be able to sign in to Office. Just click Sign in in the upper-right corner of the Word
window.
Benefits of using OneDrive
Once you’re signed in to your Microsoft account, here are a few of the things you’ll be able to do with OneDrive:
Access your files anywhere: When you save your files to OneDrive, you’ll be able to access them from any computer, tablet, or
smartphone that has an Internet connection. You'll also be able to create new documents from OneDrive.
Back up your files: Saving files to OneDrive gives them an extra layer of protection. Even if something happens to your computer,
OneDrive will keep your files safe and accessible.
Share files: It’s easy to share your OneDrive files with friends and coworkers. You can choose whether they can edit or simply read
files. This option is great for collaboration because multiple people can edit a document at the same time (also known as co-authoring).
Saving and opening files
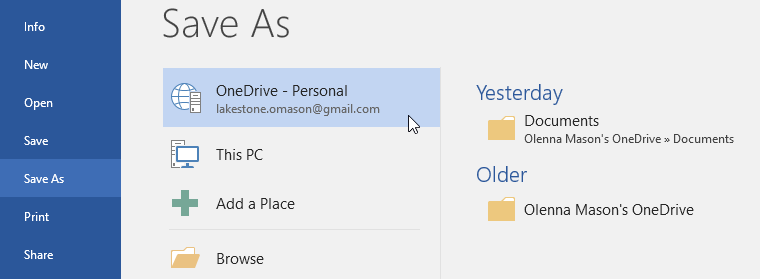
When you’re signed in to your Microsoft account, OneDrive will appear as an option whenever you save or open a file. You still have the option of saving files to your computer.
However, saving files to your OneDrive allows you to access them from any other computer, and it also allows you to share files with friends and coworkers.
For example, when you click Save As, you can select either OneDrive or This PC as the save location.


